JVZoo Affiliate: Your Gateway to Lucrative Online Partnerships
UK English JVZoo Affiliate marketing has become a cornerstone of the digital economy, offering individuals the opportunity to earn passive ...
Read more
Explore Lucrative Opportunities in Affiliate Marketing Jobs 2024

In today’s digital age, where opportunities for earning passive income abound, affiliate marketing has emerged as a lucrative avenue for ...
Read more
Mastering ChatGPT SEO:Elevating Your Online Presence

Introduction:- ChatGPT SEO, developed by OpenAI, is a large language model chatbot that allows users to have conversations with AI. ...
Read more
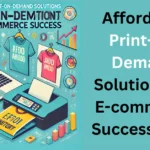
NEW Printify Login Tutorial 2024: How To Use Printify For Beginners

Introduction to Printify Login Printify is a popular print-on-demand (POD) service that lets you create custom products and sell them ...
Read more
Maximize Your Printify Etsy Success: Expert Tips and Strategies

Introduction about printify etsy Printify and Etsy can be a powerful combination for anyone who wants to sell custom products ...
Read more
Complete Guide to Etsy Login and Account Management(2024)

Introduction :- Etsy is a one-stop shop for all things unique and handcrafted! Launched in 2005, it’s an online marketplace ...
Read more
The Revolution of CapCut Template New Trend (2024)

Introduction In the dynamic landscape of video editing, staying ahead of trends is crucial for content creators aiming to engage ...
Read more
How to Screenshots on Windows 11: Your Complete Guide

In the digital age, taking screenshots on windows has become an essential skill for various purposes, from capturing important information ...
Read more
Microsoft Word Processing: A Comprehensive Guide(2024)
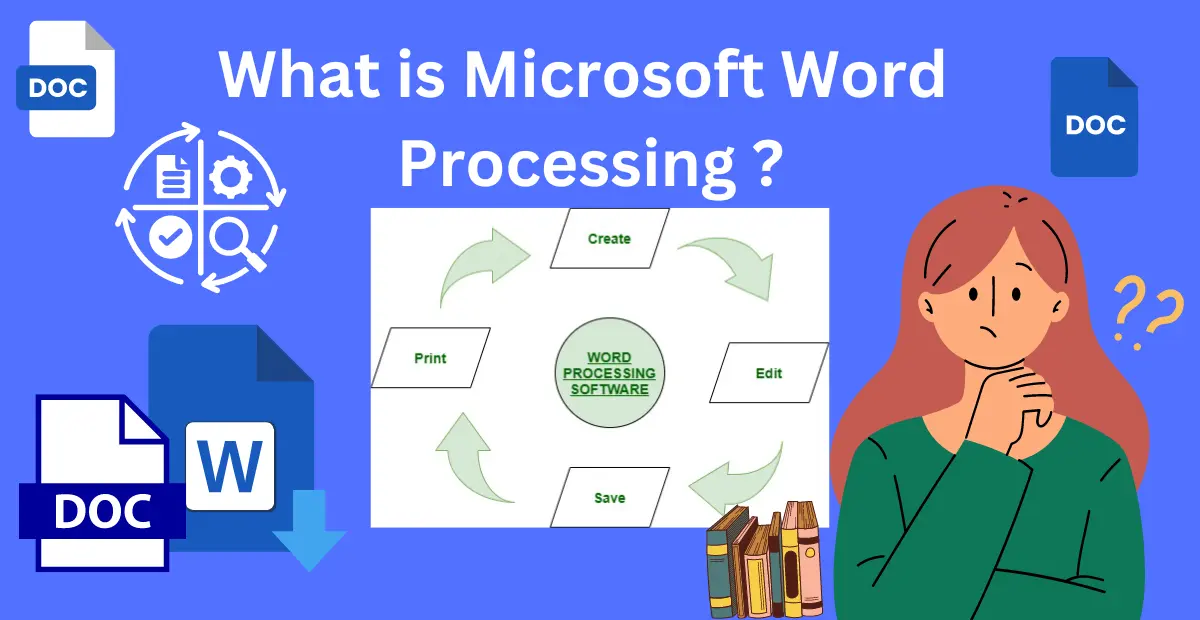
Introduction: Welcome to the ultimate guide on microsoft word processing! In this digital era, where efficiency and productivity reign supreme, ...
Read more
The Power of Microsoft Word: 13 Expert Tips to Boost Your Productivity

Table of Contents Introduction:- In today’s fast-paced digital world, Microsoft Word remains a staple tool for individuals and businesses alike. ...
Read more